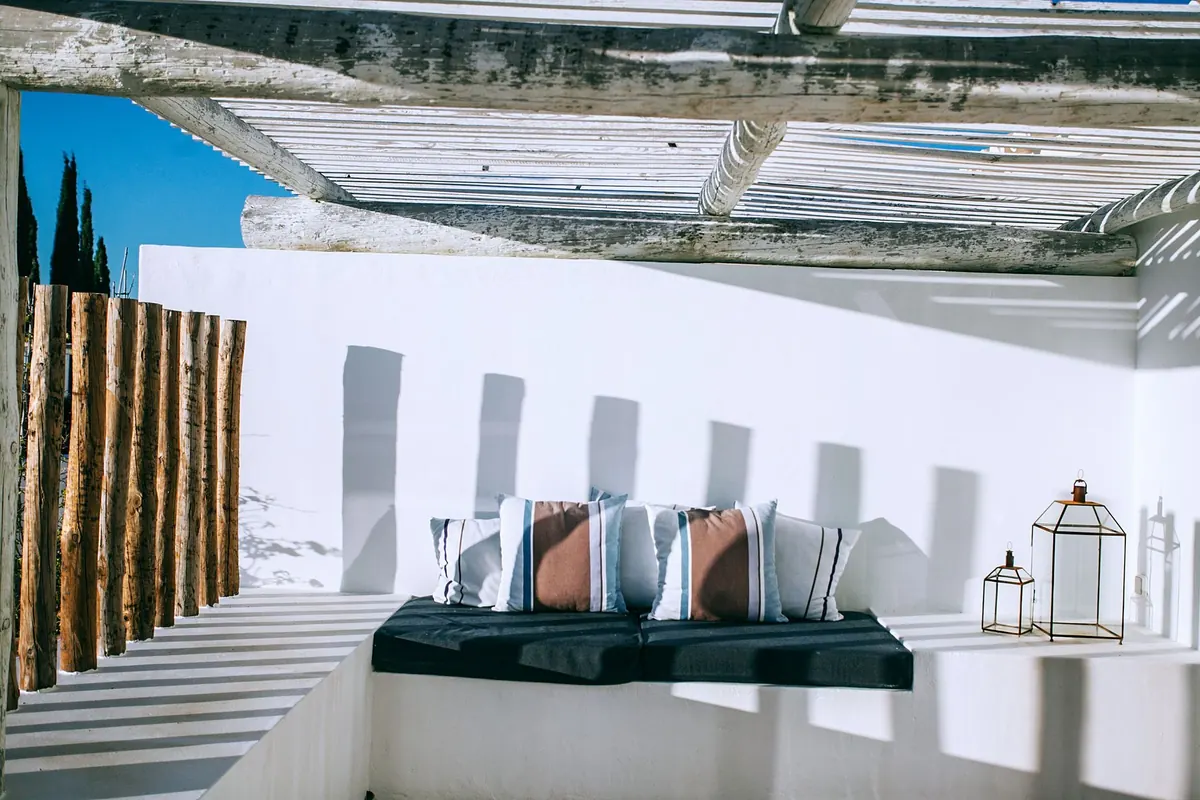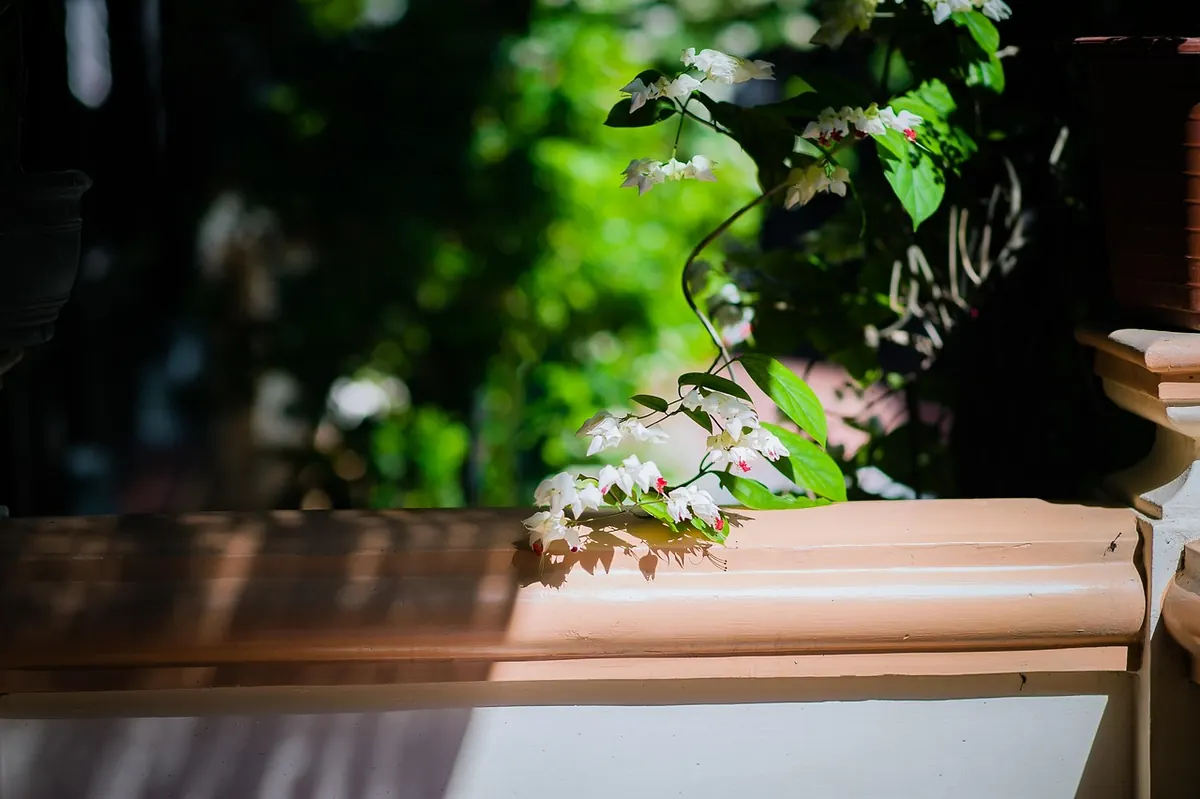
The porch is six feet deep and maybe ten wide, and by eight o'clock it is a dark box with a view. You want to sit out there with a book or a cold drink without feeling like you are under an interrogation lamp. Small covered porches are the easiest outdoor rooms to light well: the ceiling is close, the walls are near, there is no wind to fight. What they punish is over-lighting. One bright fixture in the middle of a small ceiling flattens everything, kills the shadows, and makes the space feel like a utility room. Layering is what turns that box into a room — three sources at different heights, all of them warm, all of them on a schedule.
Step 1: Fix the Overhead Layer First
The ceiling light does the unglamorous work: it makes the floor visible, the doorway safe, and the stairs legible. Treat it as infrastructure, not decoration, and it will stop competing with the lights that actually create mood.
On a small porch, a flush or semi-flush fixture with a diffuser is almost always the right call. It sits close to the ceiling, throws light down and out, and stays out of your sightline when you are seated. Skip bare-bulb pendants hung low over a small seating area — the glare will find your eyes no matter how you arrange the chairs. If your porch has a ceiling fan, a light kit with a frosted glass bowl is a fine substitute. String lights work too, but run them along the outer beam rather than the wall behind your bench. That way the bulbs face the yard instead of your face, and you get the outline of the porch without the glare.
Target roughly 400 to 600 lumens overhead for a porch this size, and make it dimmable if you can. You will rarely want it at full output after dark; most evenings it should sit somewhere around a third of its capacity, quietly holding the space while the other layers do the visible work. Sit in your chair in daylight and look up. If you can see the bare source of the bulb from a seated position, move it or shield it.
Step 2: Put Task Light Where Your Hands Are
Task light is the layer most small porches are missing, and it is the one you will use most. It is not about brightening the room. It is about putting a pool of light exactly where a pair of hands or a pair of eyes will be.
The reading chair needs a small lamp on a side table, or a wall sconce mounted about 48 to 60 inches up and slightly behind the shoulder. A sconce beside the door earns its keep twice: it lights the lock when you come home late and gives the entry a warm frame from the street. If you have steps, low step lights on the risers cost little and make the porch feel considered. A plug-in picture light over a bench or a strip of LED tucked under a bench rail lights the seat without adding another visible fixture.
The rule here is to light the surface, not the space. Keep shades low and opaque enough that the bulb stays hidden when you are sitting down, and aim the beam onto the table, the book, or the step. You are after a pool, not a flood.
Step 3: Add Accent Light at the Edges
Accent is the smallest and most emotional layer. It is what makes the porch feel like somewhere instead of just lit. And on a covered porch, accent work is mostly about edges: a post, a planter, the rim of a step, the corner where the railing meets the wall.
A small outdoor spotlight aimed up a post or into a fern gives you a tall, soft wash of light and a real sense of depth. A lantern on the floor beside the step, with an LED pillar candle inside, lights the bottom of the frame so the porch does not appear to float. A rope light or a short strip tucked under a railing does something similar with almost no visible hardware. Clip a battery puck light under the rim of a planter and the leaves glow from below.
Keep accent light noticeably dimmer than everything else — 50 to 100 lumens is plenty — and resist the urge to spread it evenly. The middle of a small porch floor should stay a little dark. That darkness is what gives the rest of it shape.
Warm light does not need to be bright to be enough. Most porches are lit for the mail carrier when they should be lit for two people talking.
Step 4: Keep the Bulbs Warm and Consistent
This step is unglamorous and it decides whether the whole plan works. A single cool-white bulb among warm ones reads blue, and blue kills the effect faster than any placement mistake. Match the color temperature across every source, including the string lights, the sconce, and the candle in the lantern.
- 2200K to 2700K everywhere. That range gives you amber at the low end and soft gold at the high end. "Warm white" on a box can mean 3000K, so read the number.
- Dimmable for the overhead fixture. Non-dimmable LEDs flicker or drop out when you try to dim them.
- Visible filament styles for anything the eye can see — string lights, lanterns, a bare decorative bulb. They look better at low output.
- Roughly 400–600 lumens overhead, 100–200 for task, 50–100 for accent.
- Damp-rated fixtures even under a roof. Covered porches still collect moisture, and an outlet without GFCI protection is a problem worth fixing before you add anything.
Higher color rendering — look for a CRI of 90 or better — makes wood, brick, and fabric look like themselves instead of gray. Lower-output warm light also tends to draw fewer insects than a bright cool source, which matters if the porch is where you eat.
Step 5: Automate It So the Porch Turns Itself On
A porch you have to switch on in the dark, one fixture at a time, stops getting used by the second week. Timers solve this for the price of a couple of plug-in units, and the setup takes about ten minutes.
- Split the layers across two control points: overhead on one, task and accent on another. Grouping lets you dim or kill the top layer without losing the glow.
- Set the overhead to come on at dusk and dim it to around a third. Off at bedtime, or whenever you typically head in.
- Run task and accent lights on the same dusk trigger, then let accents stay on later — midnight or a low all-night setting — so the porch still has shape when the rest of the house is dark.
- Keep a manual override within reach. Timers are for the default evening; you will want the porch brighter for a dinner or dark for stars.
Use outdoor-rated plugs and cords, tuck them behind furniture rather than across the walkway, and put a smart plug or a mechanical timer on the outlet rather than relying on your memory.
A Porch That Is Ready Before You Are
Start with what you own. Swap the bulbs first — if the porch currently has cool white, changing to 2700K will do more for the space than any new fixture. Then add one task light at the chair you actually sit in, and one accent at the edge you look at most. Timers come last, and they are what turn three separate lights into a single evening ritual.
The final test is simple: at eight o'clock, sit down, look around, and notice what your eye lands on. If a bulb is visible, shield it. If the middle of the floor is the brightest thing in the frame, dim something. If the corners and edges have a soft glow and the ceiling has gone quiet, you have layered it correctly — and you will find yourself out there far more often than you expected.
Photo: Alexas_Fotos / Pixabay